Frequently Asked Question
How can I add a picture to a staff profile?
Last Updated 8 years ago
The first thing you will need to do when adding a picture to a staff profile is to copy the actual image over to our server. There will be two ways of doing this. Choose one of the following uploading methods before continuing, don't do both.
The first way is the easiest, but it requires you to have mapped drives enabled. What this basically means is the drives on your machine will be picked up and accessible from our server. To check if this is available to you, while logged into Pulse, click the 'File Explorer' icon on the task bar.

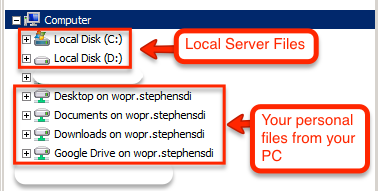
Once that window is open, look in the left pane, under the heading "Computer". There you should see the local drives and a list of drives that are accessible from your PC.
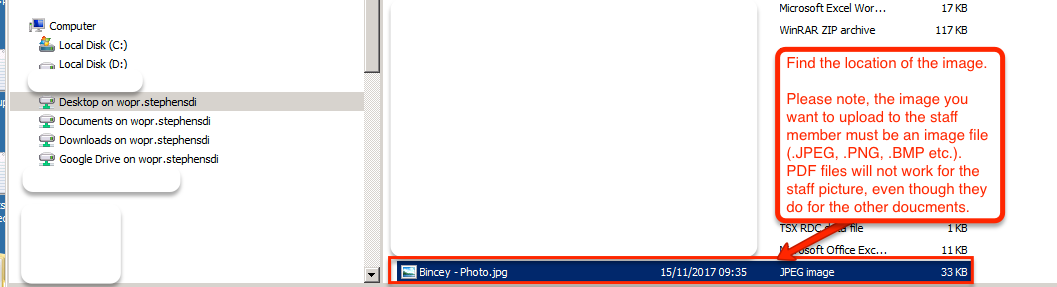
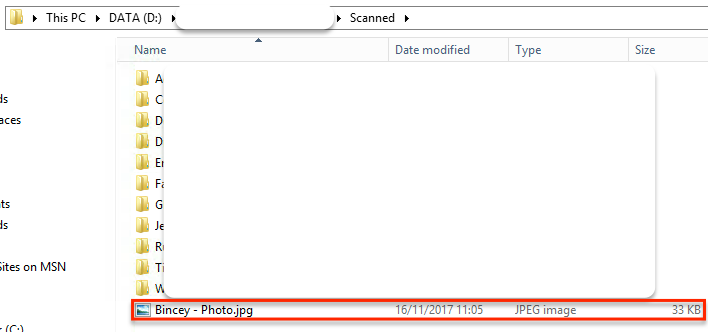
You can explore your files as you normally would here. Look for the image you want to use as a staff picture. When you've found it, keep that window open. Also, the image you want to use for the staff picture must be an image file, such as .JPEG, .PNG, .BMP. PDF files will not work as a staff image.
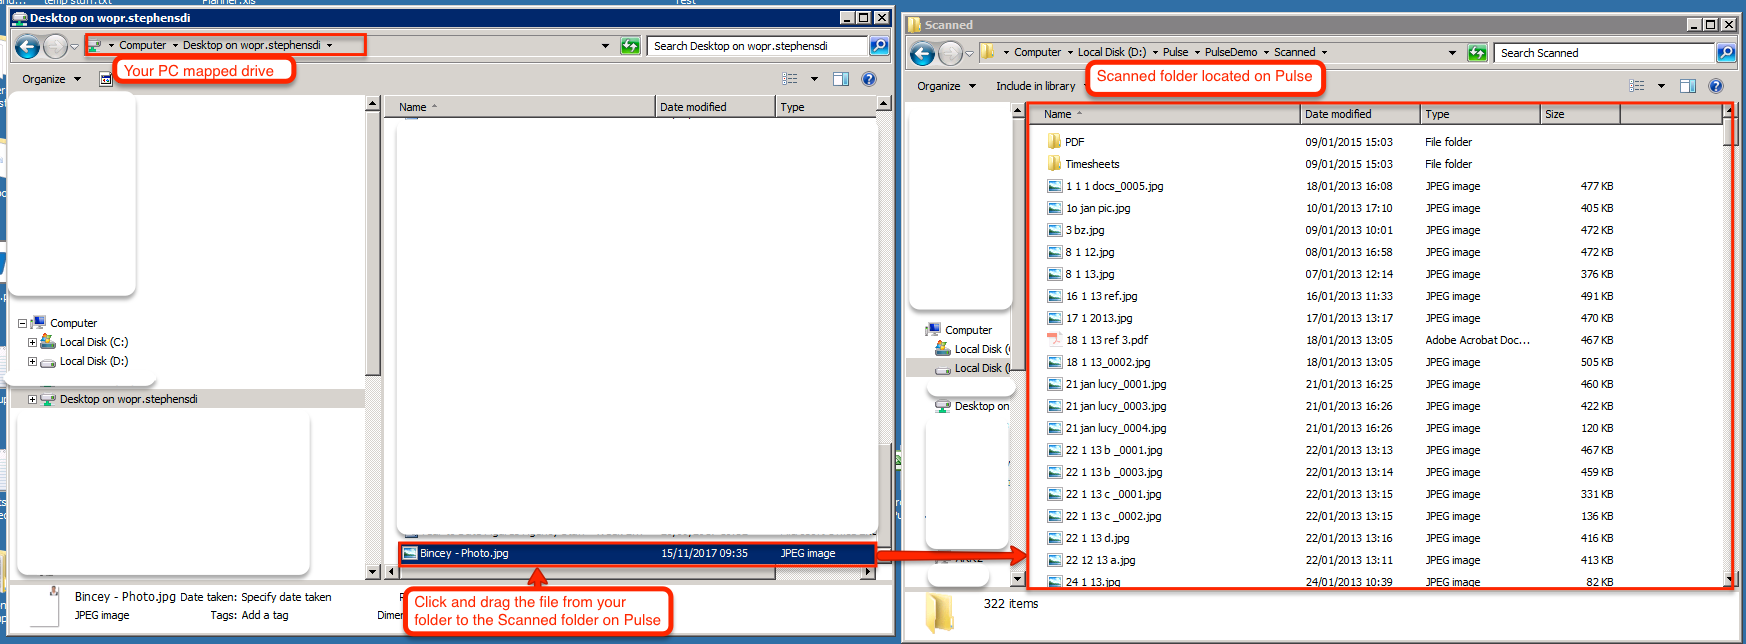
You now need to copy that file from the location you previously found to the Scanned folder on the server. The Scanned folder can be found on your Pulse desktop. Double click the folder to open it. Now drag the image file to the Scanned folder.
The second way of uploading the file is by using our online uploading service. You should have the link and your login credentials on the welcome email that was sent to you when you first started using Pulse.
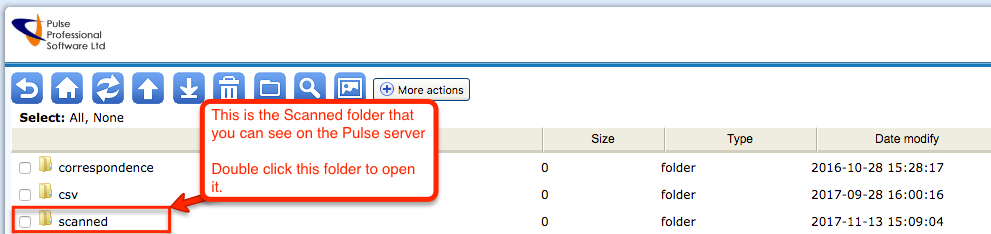
When you have opened the link and logged in, you will see 3 files on the screen. Correspondence, CSV, and Scanned. Open the Scanned folder by double clicking it.
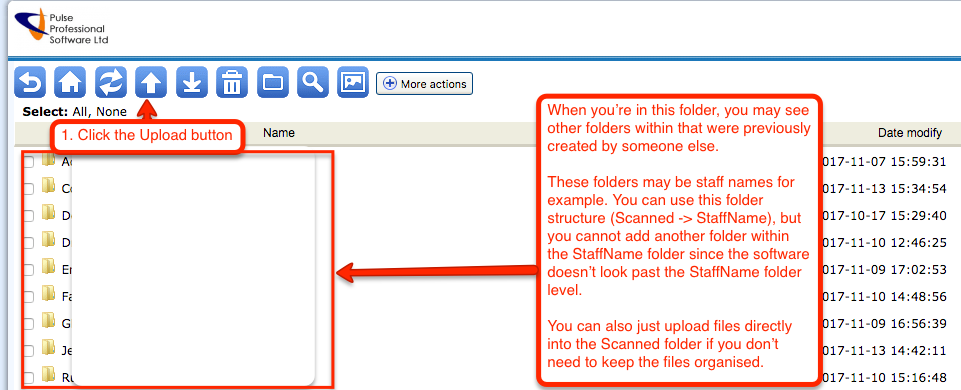
This is where you will be uploading the file. Make sure to upload the file into the root of Scanned to make it easier to find the image file when you've uploaded it. Pulse is designed to view 1 folder level down, meaning you can create other folders within the Scanned folder (such as staff member names), but you can't then create folders within those folders as the system will not be able to look that far in.
Click the Upload button (the 4th icon across, the Up arrow).
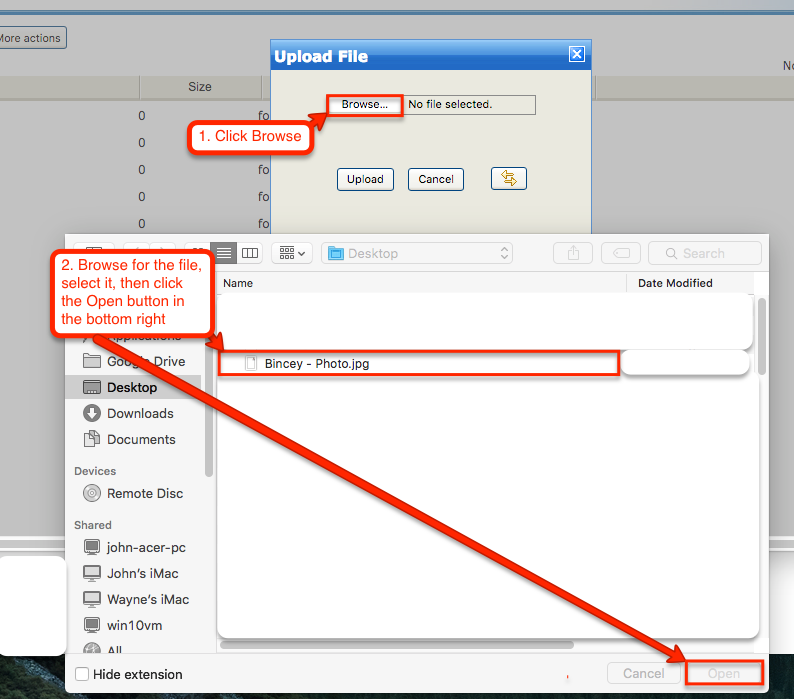
Click the Browse button on the window that has appeared, and then browse for the file that you want to upload. Select the file, then click the Open button.
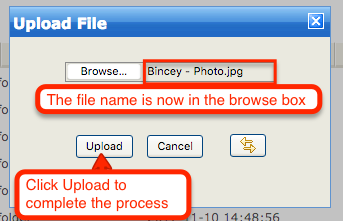
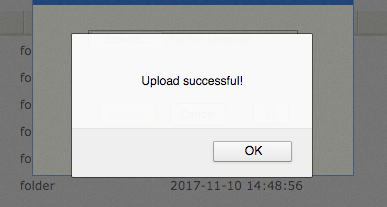
You should now be back on the upload window, from here click the Upload button. There should be a message when the file has successfully uploaded.
The file should now be on our server and ready to be saved against the staff member.

The file on Pulse:
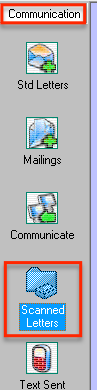
For the next step, you will need to go into the Pulse program. Once you're in there, go to the Communication menu, then Scanned letters.
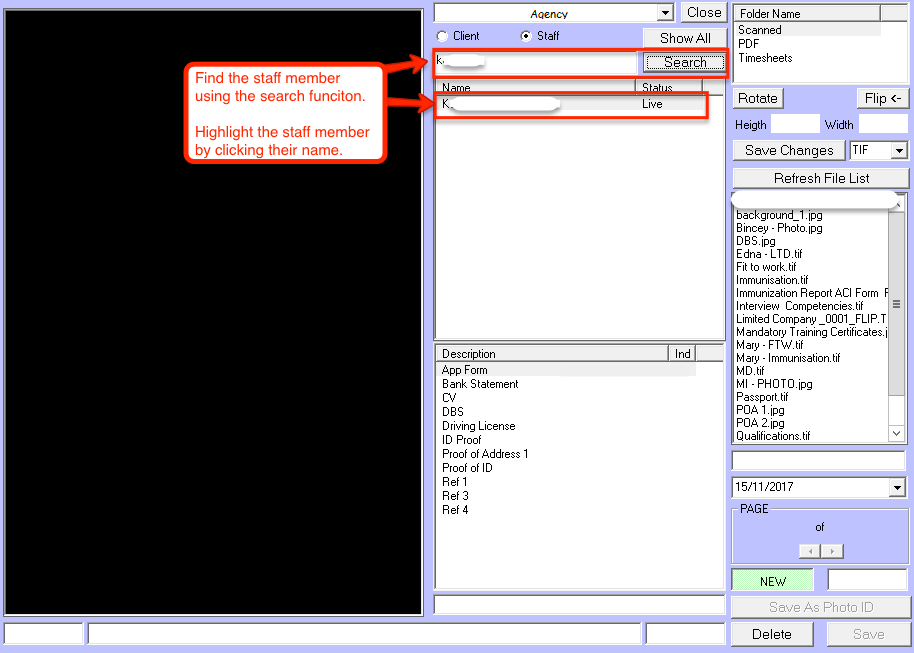
Now look for the staff member in the staff list (If you have a large amount of staff you can use the search function)
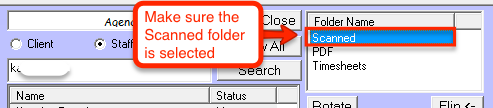
Now make sure that you're in the correct folder, it should automatically load with the Scanned folder selected, but you may still want to select it just in case.
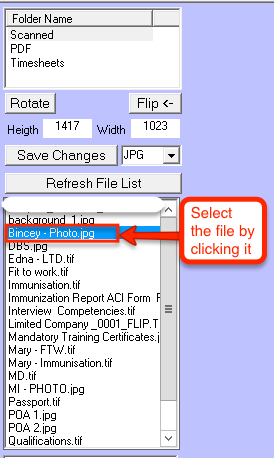
In the list on the right of the screen, you should now see the list of files within the Scanned folder. You should see the file you previously copied over. Select it by clicking it.
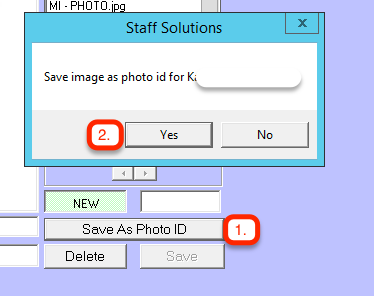
At the bottom of the screen, click the Save As Photo ID button, then click Yes on the following confirmation message.
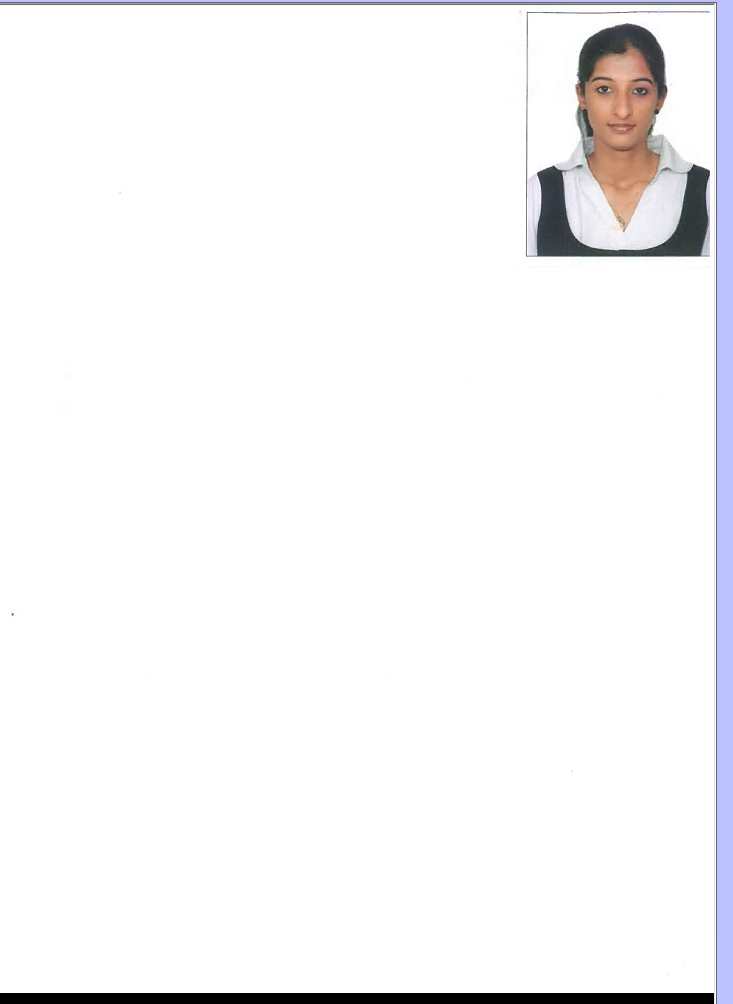
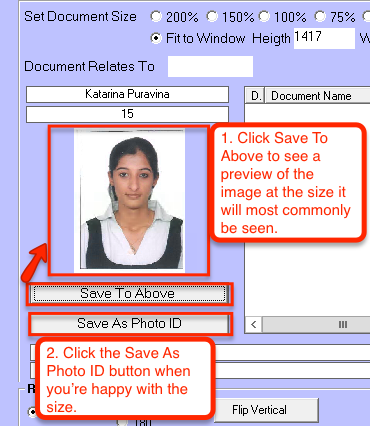
You should now be brought into the Document screen, from here you can crop the image so that it is a more suitable size for the profile. To do this, click and drag a square around the image that you feel is an appropriate size.
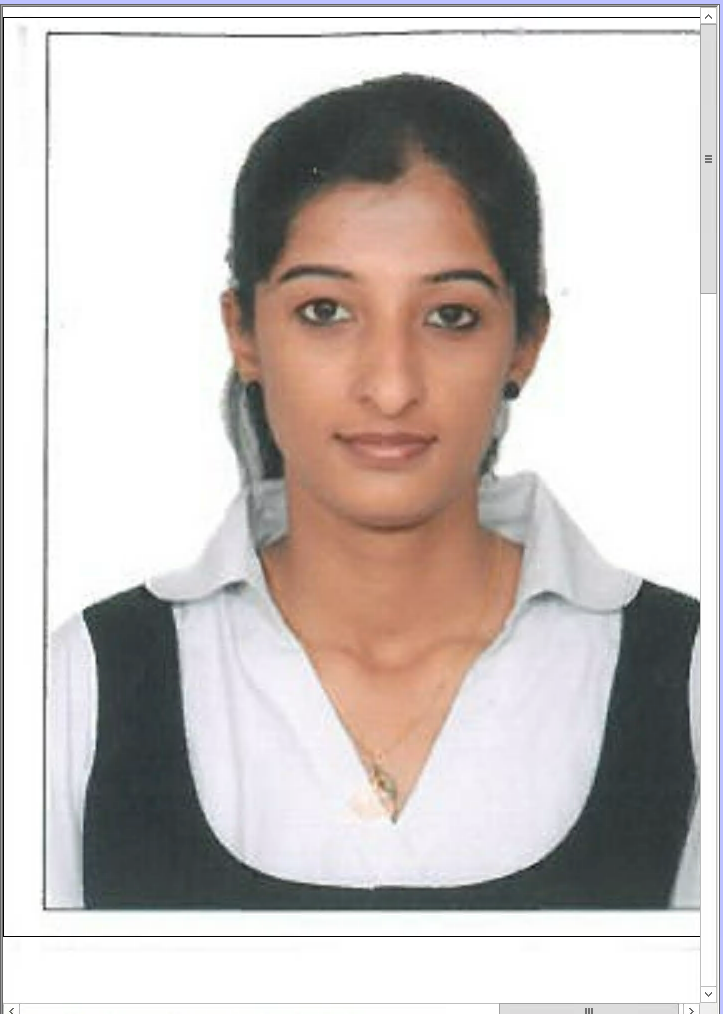
You can now preview the image at the size it will be shown by clicking the Save To Above button on the right. You can also Save the image as the staff photo by clicking the Save As Photo ID button directly below.
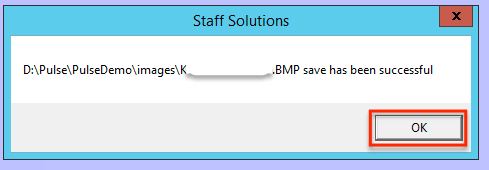
You will get a message if the save process has been successful or not. Click OK.
Close that Document window by clicking the Close button in the very bottom right of the window.
When you now go back to that staff member's staff details page, you will see the image appearing. This is the image that will also be used on the ID Card and Staff Profiles.

First Uploading Method
The first way is the easiest, but it requires you to have mapped drives enabled. What this basically means is the drives on your machine will be picked up and accessible from our server. To check if this is available to you, while logged into Pulse, click the 'File Explorer' icon on the task bar.
Once that window is open, look in the left pane, under the heading "Computer". There you should see the local drives and a list of drives that are accessible from your PC.
You can explore your files as you normally would here. Look for the image you want to use as a staff picture. When you've found it, keep that window open. Also, the image you want to use for the staff picture must be an image file, such as .JPEG, .PNG, .BMP. PDF files will not work as a staff image.
You now need to copy that file from the location you previously found to the Scanned folder on the server. The Scanned folder can be found on your Pulse desktop. Double click the folder to open it. Now drag the image file to the Scanned folder.
Second Uploading Method
The second way of uploading the file is by using our online uploading service. You should have the link and your login credentials on the welcome email that was sent to you when you first started using Pulse.
When you have opened the link and logged in, you will see 3 files on the screen. Correspondence, CSV, and Scanned. Open the Scanned folder by double clicking it.
This is where you will be uploading the file. Make sure to upload the file into the root of Scanned to make it easier to find the image file when you've uploaded it. Pulse is designed to view 1 folder level down, meaning you can create other folders within the Scanned folder (such as staff member names), but you can't then create folders within those folders as the system will not be able to look that far in.
Click the Upload button (the 4th icon across, the Up arrow).
Click the Browse button on the window that has appeared, and then browse for the file that you want to upload. Select the file, then click the Open button.
You should now be back on the upload window, from here click the Upload button. There should be a message when the file has successfully uploaded.
The file should now be on our server and ready to be saved against the staff member.
The file on Pulse:
Linking the Image to the Staff Member
For the next step, you will need to go into the Pulse program. Once you're in there, go to the Communication menu, then Scanned letters.
Now look for the staff member in the staff list (If you have a large amount of staff you can use the search function)
Now make sure that you're in the correct folder, it should automatically load with the Scanned folder selected, but you may still want to select it just in case.
In the list on the right of the screen, you should now see the list of files within the Scanned folder. You should see the file you previously copied over. Select it by clicking it.
At the bottom of the screen, click the Save As Photo ID button, then click Yes on the following confirmation message.
You should now be brought into the Document screen, from here you can crop the image so that it is a more suitable size for the profile. To do this, click and drag a square around the image that you feel is an appropriate size.
You can now preview the image at the size it will be shown by clicking the Save To Above button on the right. You can also Save the image as the staff photo by clicking the Save As Photo ID button directly below.
You will get a message if the save process has been successful or not. Click OK.
Close that Document window by clicking the Close button in the very bottom right of the window.
When you now go back to that staff member's staff details page, you will see the image appearing. This is the image that will also be used on the ID Card and Staff Profiles.